


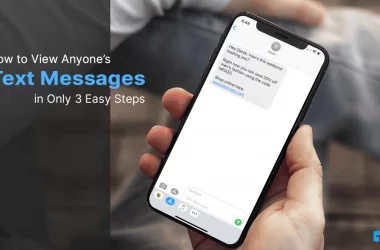
How to Read Someone’s Text Messages without their Phone?
View text messages on anyone's phone without using their mobile. Yes, at present you can do this very easily by using a text message monitoring spy app. So read on to find out the right directions and details about this.
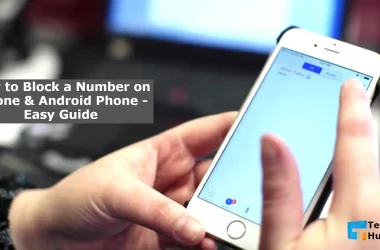
How to Block a Number on iPhone & Android Phone – TH
How to Block a Number on iPhone & Android Phone - Easy Guide. To know more about it, please read the entire post. Here are a few simple and effective ways to block annoying iPhone and Android phone numbers.
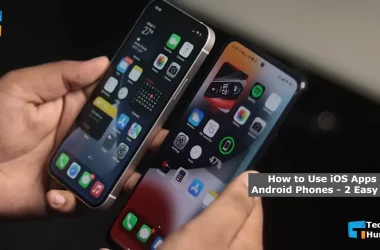
How to Use iOS Apps on Android Phones – 2 Easy Ways
Do you want to use iPhone apps on an Android phone? But don’t know How to Use iOS…
How to Turn off Likee Videos in IMO – A Easy Guide
Everyone among IMO users may have noticed this problem. That is an unnecessary Likee video. To learn how…

How to Change Language on Windows 10 & macOS?
Today we will discuss, How to Change Language on Windows 10 & macOS. Knowing how to change a…

How to Use TeamViewer on PC? – A Easy Guide
The thing is that if you want to access your home computer sitting in the office, in this…
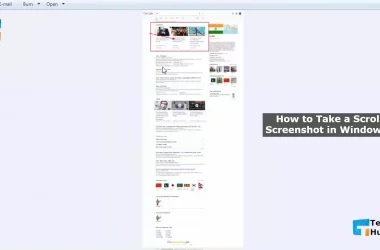
3 Ways: How to Take a Scrolling Screenshot in Windows 10
We need to take screenshots almost every time to quickly save any information shown on any webpage or…

How to Delete IMO Messenger Chat History – Easy Guide
How to Delete IMO Messenger Chat History? Often we need to delete IMO chat history. Because it keeps…

How to Setup and Use IMO on Windows PC & Laptop 2 Ways
Today we discus about How to Setup and Use IMO on Windows PC & Laptop. For many, using…

How to Send an Anonymous Text SMS? – 2 Easy Ways
In today’s article, I will share how to Send an Anonymous Text SMS with you. Many of us…